

Materials:
- Acrylic paint
- Paint brushes
- Paint trays
- Painter’s tape (for Option 3)
- Clear coat sealant spray
- Cups for rinsing paint brushes
- Paper towels
- Hand washing area
Instructions
- The first step in planning your mural is to decide on a location. With the help of your young gardeners, explore different possibilities. Are you using this as a winter activity to keep the garden alive? You can look for an indoor space to paint or create your mural on a material that can later be transported into your garden. Is this an outdoor project? If so, make sure to get all necessarily approvals before you begin.
- Decide what you want to paint on your mural. Below you will find some ideas used by other youth gardeners. As the group leader or caregiver, you can select the theme and then ask the kids to help you with details like colors or sizes to make sure they feel some ownership in the project. Alternatively, you can also engage kids in helping you pick a design and work together to brainstorm and sketch out your ideas. You will want to engage your younger gardeners as much as possible; however, this will vary greatly depending on the size of your group and scope of your project.
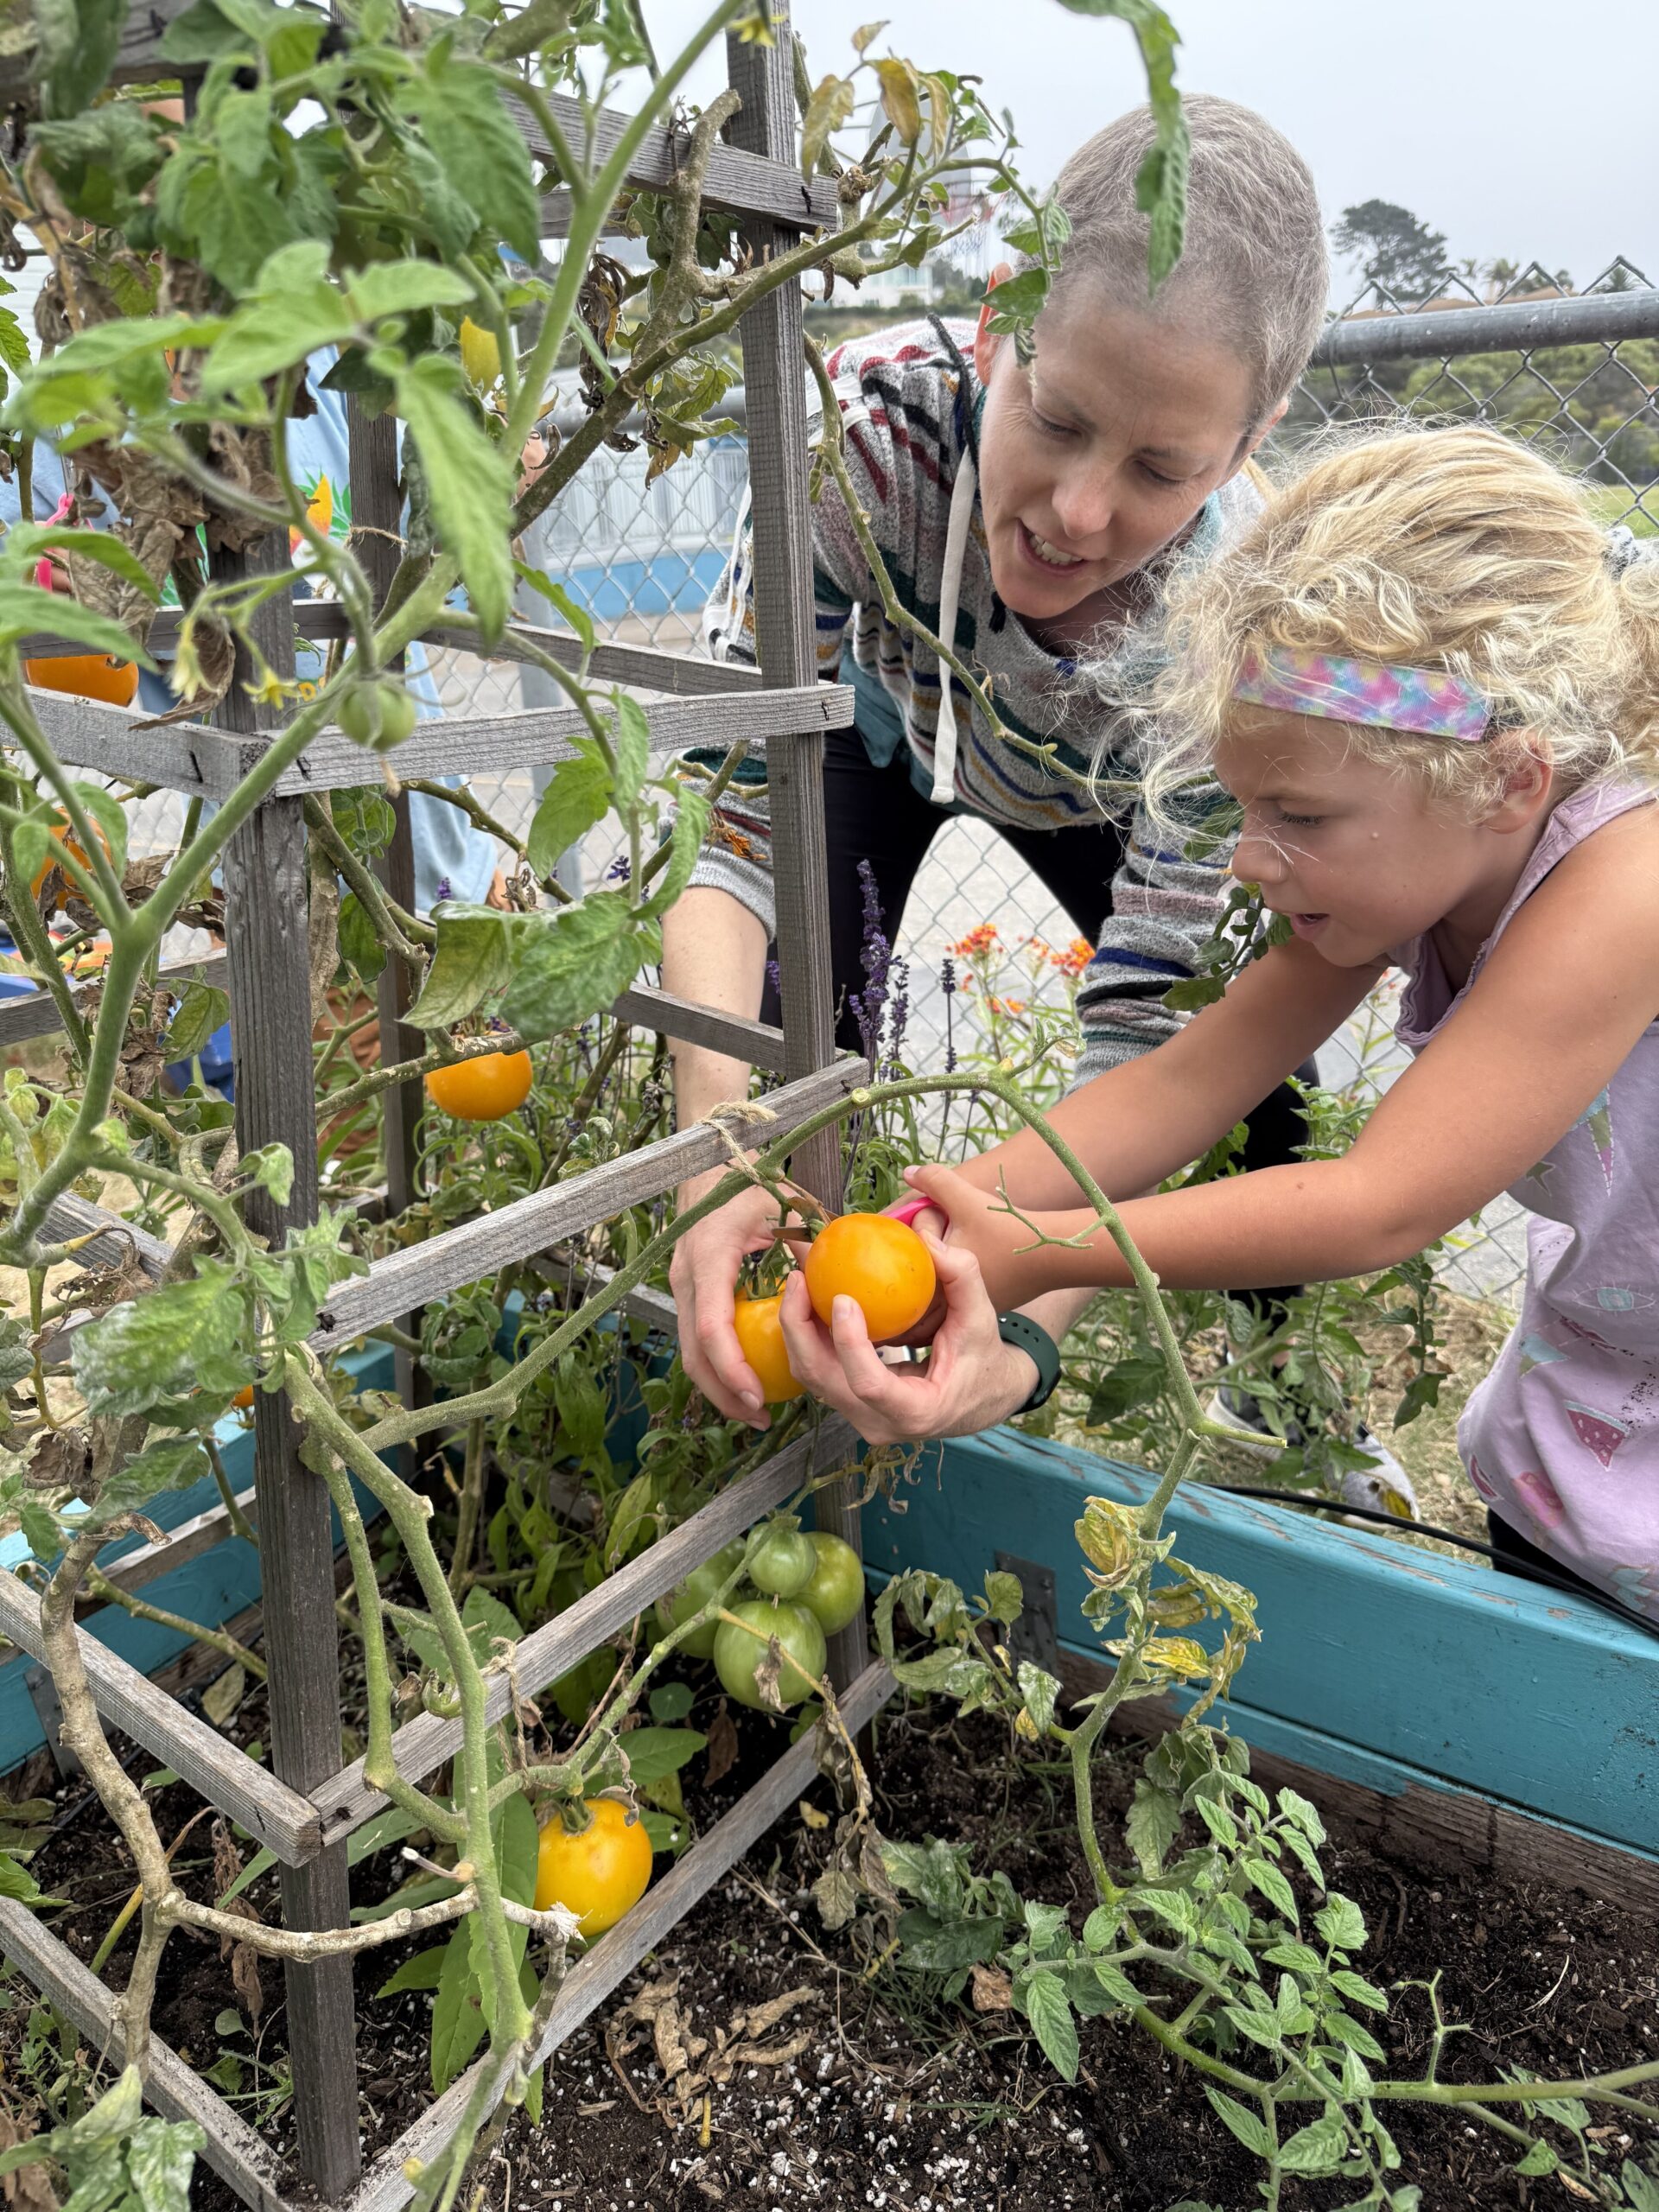
- Gather all your supplies and get painting! Make sure to protect surfaces carefully if painting indoors and have young gardeners wear clothes they do not mind getting paint on. If you are working in a school or childcare setting, be sure to let caregivers know that there will be a painting activity happening so the kids can dress appropriately and be prepared with some extra shirts or aprons just in case anyone forgets.
Here are three ideas of collaborative murals other youth garden groups have completed to provide inspiration to help you get started:
Hand Print Tree Garden Mural

On this mural, young gardeners’ handprints become the leaves of your painted tree. It can be done all at once or it can slowly fill in over time.
- Using a pencil, outline a trunk and branches of a tree where you want to place the mural.
- Paint the trunk and branches to set the stage for the handprint activity, or have older kids help paint and fill in the lines.
- Once the trunk is dry, have adults help the kids coat one of their hands with a thick layer of paint. Using multiple colors, even if multiple shades of green, will add depth to your tree. Let the kids select the color they want to use and also pick the place they want to add their "leaf" if possible.
- After they make their handprint, direct them to wash their hands off.
- When the paint has dried, spray a clear coat to protect it.
Hand Print Abstract Art


Like the tree, this style of mural can continue to evolve as the seasons change. Photos of the spiral “Pa’ahana Wall” mural courtesy Holly Sargeant Green from Māla’ai Garden at Waimea Middle School.
- A variation of option 1, allow your young gardeners’ handprints to be more abstract, but still use this activity as a way to make their personal mark on your garden. Come up with a shape or let the shape be determined by the space. You could paint on a wall, fence or side of a raised bed or container. Alternatively, you could complete your design on a moveable, weatherproof canvas such as a piece of wood, a large cloth/bedsheet or even an old plastic yard sign.
- If drawing a shape, outline it clearly before you begin so that kids know where to make their handprints.
- Follow steps 4-6 from the “Hand Print Tree” Activity.
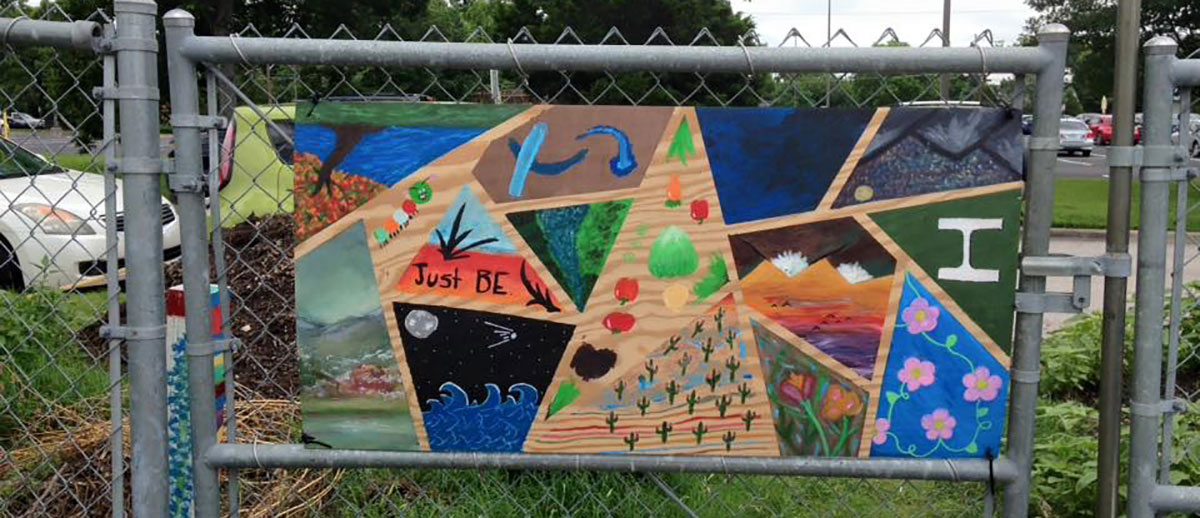
Section Art Garden Murals


These examples were mounted on a fence by drilling holes in the corners and fastening them with zip ties.
- If you have a little more time and/or young gardeners who want a more detailed expression, a section art piece can provide opportunities for them to create a work of art together, but still let their individuality shine through. As a group, you could begin by picking a theme for the design ahead of time so that each section is part of a similar story, or give them full rein to express themselves in the work.
- The examples above were made by using a piece of wood as the base. You could use wood of any size or shape. Because the wood will be very absorbent, if you choose this option, start by adding a base coat of clear coat or base layer. Let the base coat dry completely.
- Section off the wood with strips of tape. There should be as many sections as gardeners involved, so each youth gets to paint their own section. If you are working with a large group, you may need multiple pieces of wood so that the sections do not have to be too small and they can work at the same time.
- Give each gardener or group trays of paint, paint brushes, cups, and paper towels. You want to avoid having the kids use the paint directly out of the paint containers and start them with a small amount of each color so that it is not wasted. You can add more if needed.
- When the paint has dried, spray each piece of wood with a clear coat to protect it from the weather.
