
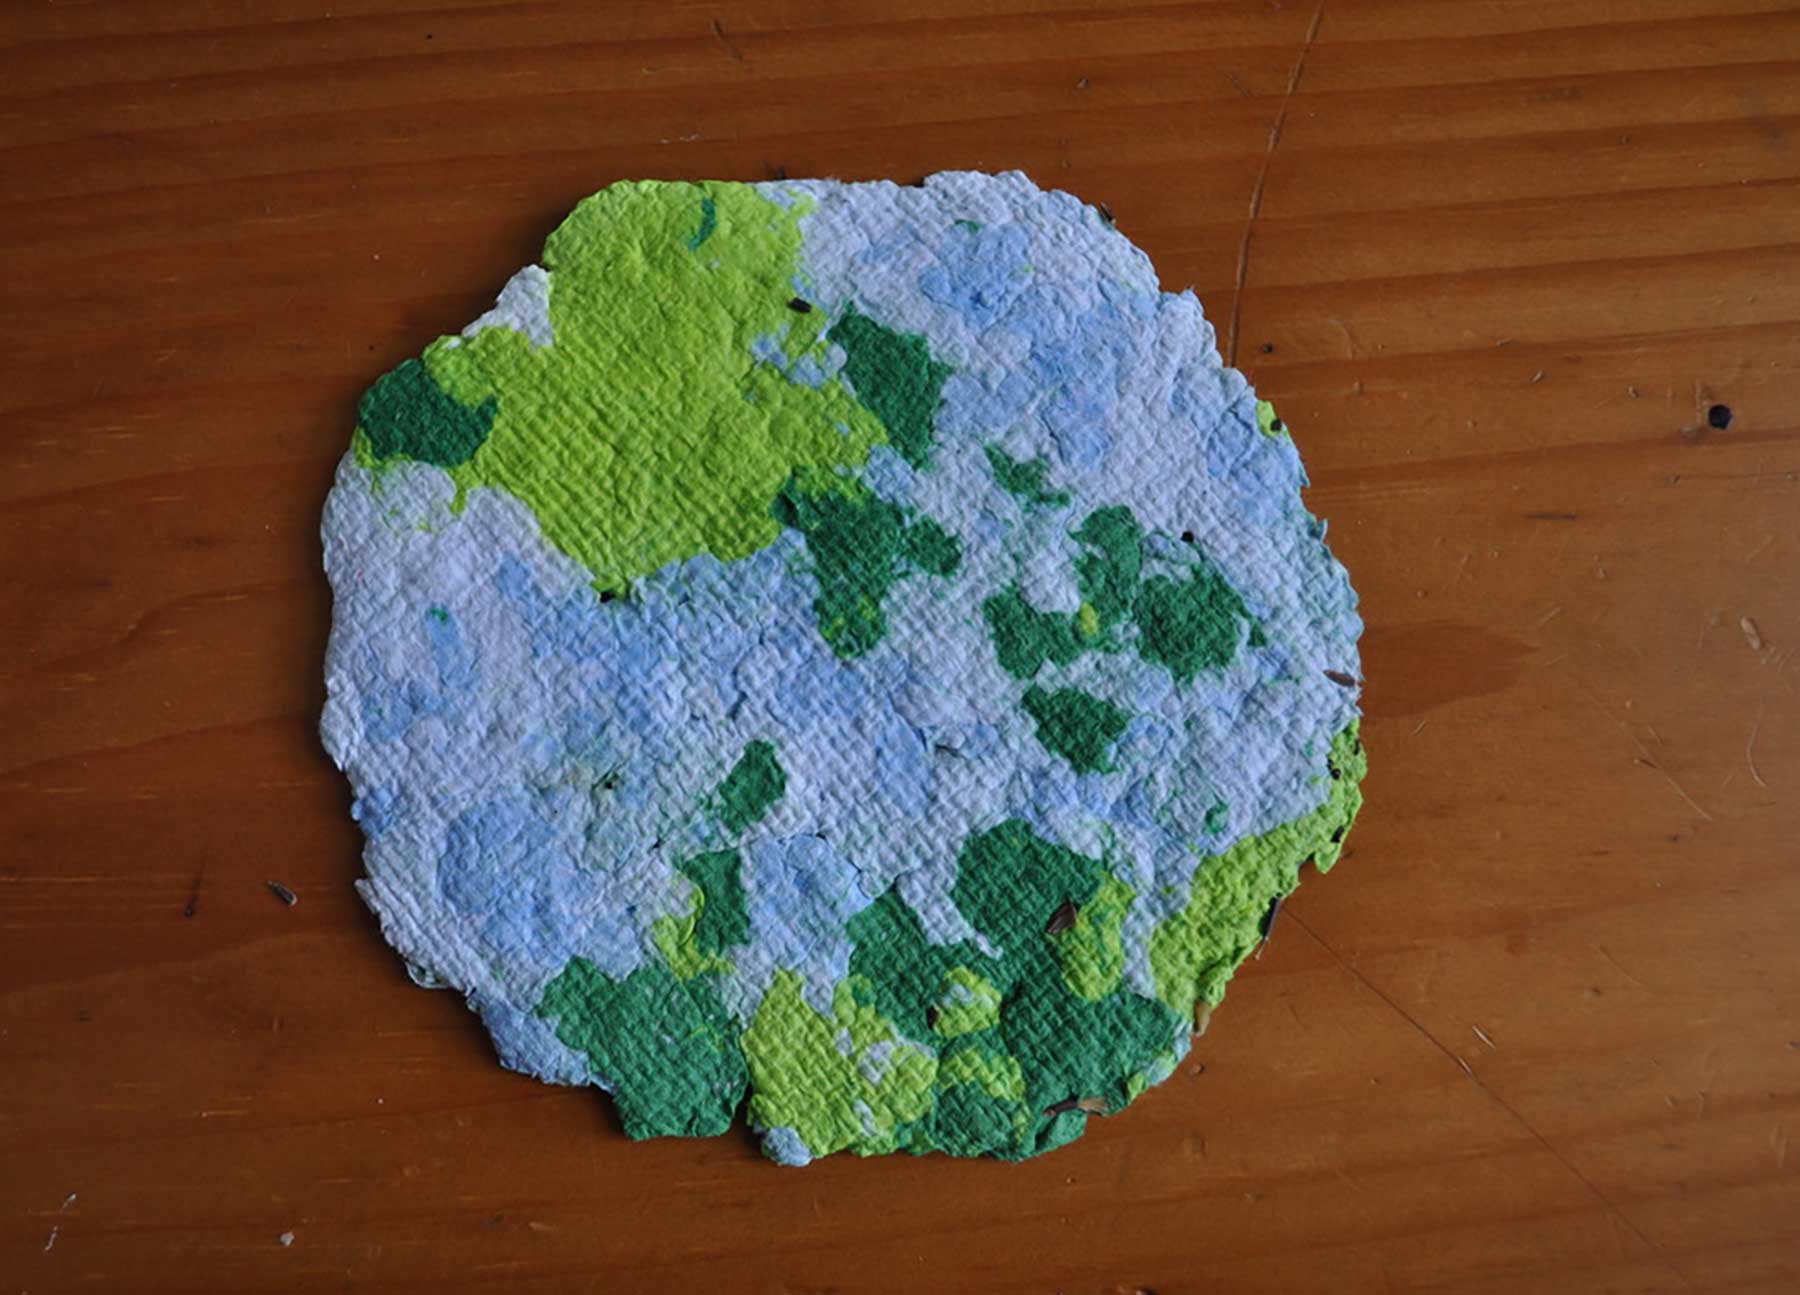
This handmade, Earth-inspired paper is made with recycled paper and embedded with wildflower seeds — a fun and meaningful way to celebrate Earth Day and a beautiful gift for family and friends.
Materials
- Scrap paper (suggested types listed below)
- Wooden frame (build your own or use an old picture frame)
- Window screening (you’ll need one pieces that’s slightly larger than the frame, and several smaller pieces)
- Staples (for tacking screen to frame)
- Blender (for making pulp)
- Old towels and/or large rags (to soak up water)
- Sponges
- Wildflower seeds

Approximate Time to Complete: At least 2 hours to soak paper; activity: 2 to 3 hours
Location: Indoor
Ages: All ages
Season: Any season
Instructions
Making paper is a wet, messy process! Cover surfaces with plastic to waterproof them. Have plenty of old towels, rags, sheets, and sponges for both making the paper and cleaning up afterwards. Note that the dyes in colored papers can stain surfaces like countertops, so protect them, too.
If possible, use paper from the recycle bin (rather than new paper) to make this activity the most Earth-friendly. Gather scrap paper — including office paper, envelopes (remove any plastic windows), colored paper, and uncoated gift wrap. For Earth-inspired paper, choose shades of blue and green, as well as white. You can use small amounts of glossy or coated papers as well as newspapers, but don’t make them the primary ingredient. Printed office paper often yields a grayish homemade paper, so consider your color scheme and include papers in those colors.
Tear the paper into pieces about an inch square (or smaller). Cover the paper with warm water and let it soak for at least two hours.

In the meantime, make the mold — the paper-maker’s term for a frame inset with a piece of screen. This example uses an old 8″x10″ wooden picture frame and some scraps of window screen. Use scissors to the screen so it’s an inch or two larger than the frame in all directions.

Holding the screen taut, staple it to the frame.
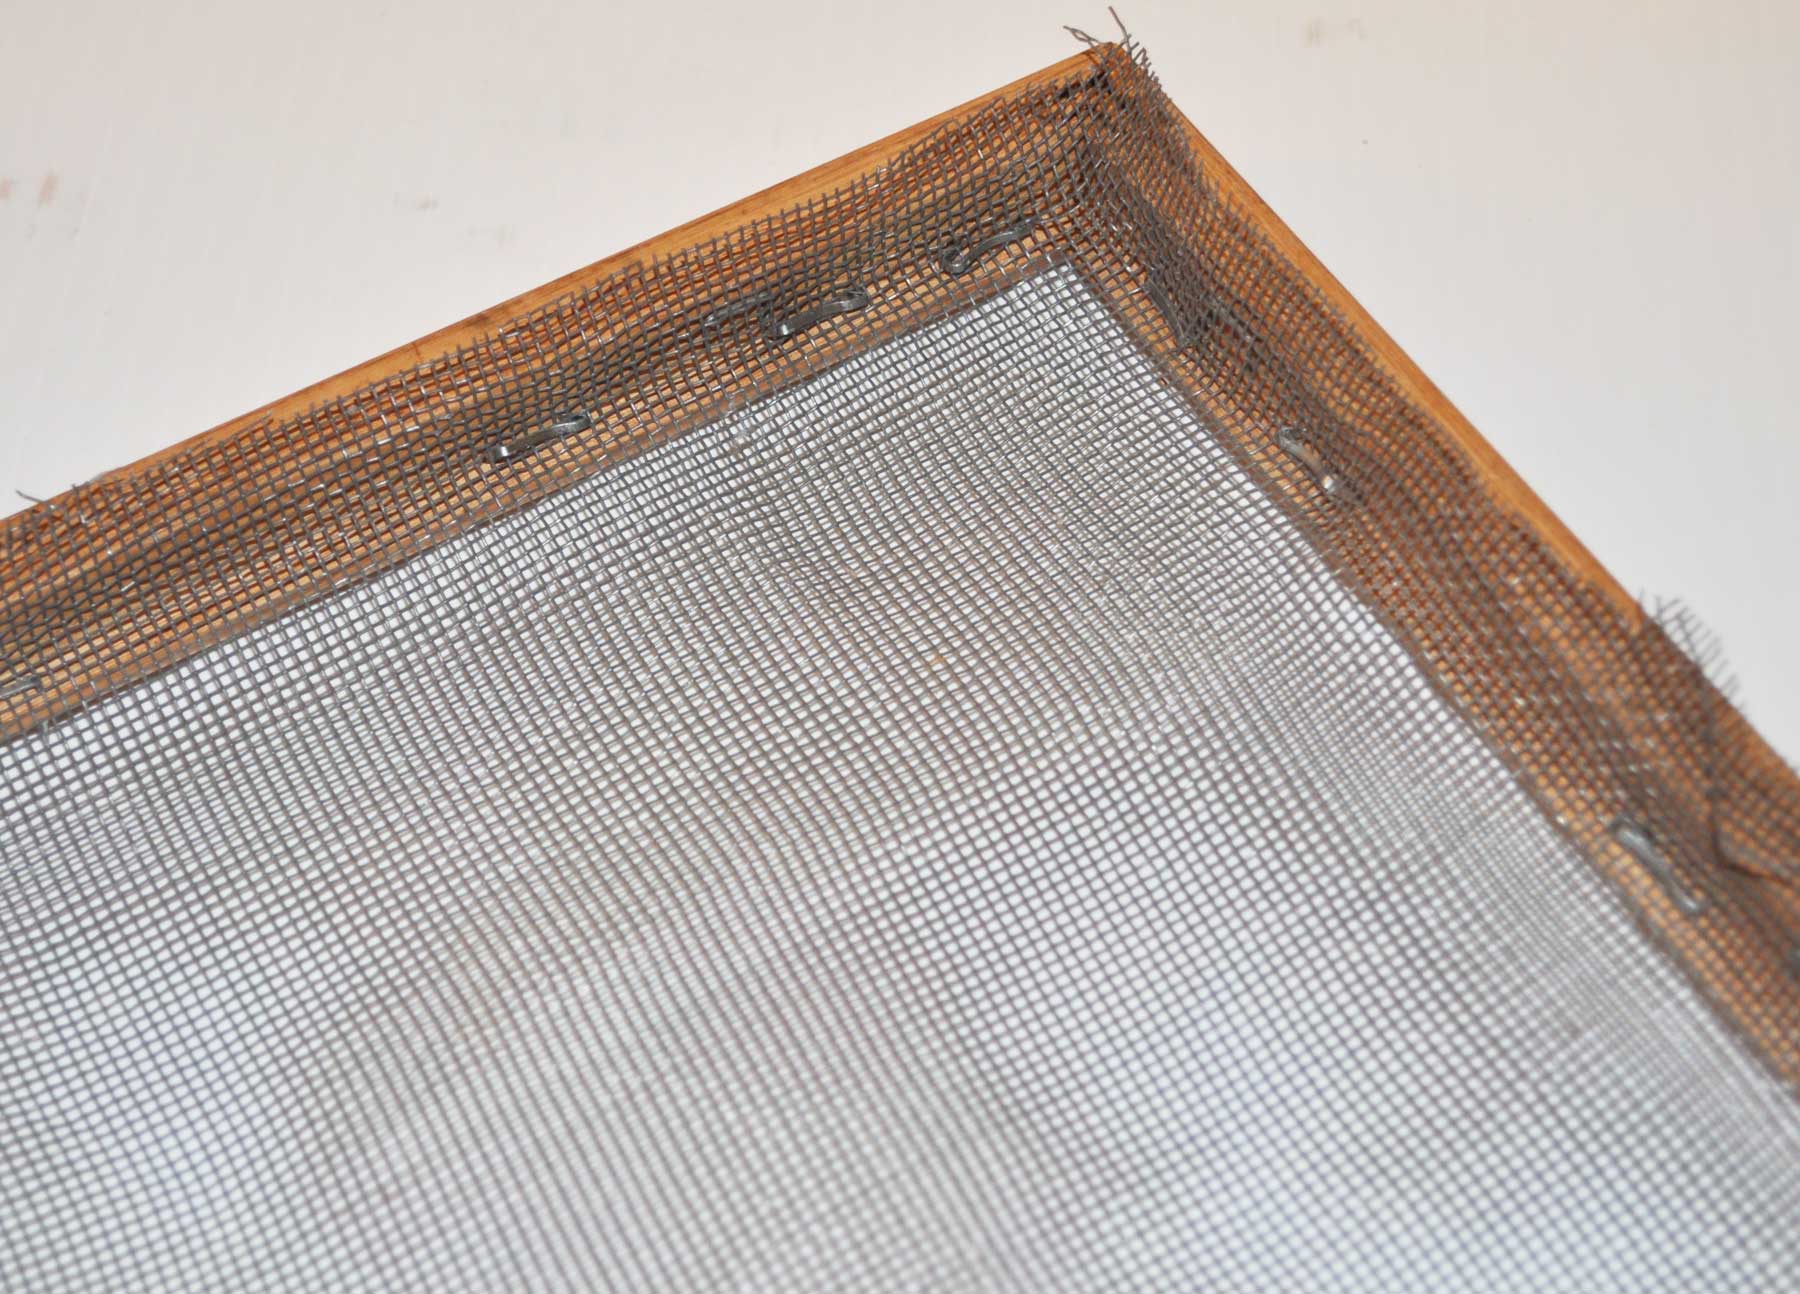
Cut a few additional pieces of screen larger than the frame. You’ll use these for transferring and drying the paper.

Once the paper is fully saturated, transfer some to a blender. In this case, we’re using an immersion blender with a food chopper attachment. Add enough water to almost cover the paper. Blend until the resulting pulp resembles cooked oatmeal.

The four pulp colors have been blended and are ready to use.

Cover your waterproof surface with several layers of felt, towels, rags, or old sheets. These will absorb the water. Note that the fabric may get stained from the colored paper. Place the mold (the wood frame with screen) on the fabric. Apply the pulp to the screen and press. To create an Earth-themed paper, add colors in sections to represent land (green), ocean (blue), and clouds (white).

Place a piece of screen over the pulp and press firmly with a dry sponge to soak up some of the water.

This damp paper is ready for seeds.
Sprinkle wildflower seeds onto the damp paper.

Place a piece of screen on top and press. Here, we’re using a rolling pin; you could also use a flat-sided jar or bottle.

These seeds are nicely embedded in the paper. Some of them may fall off once the paper is dry, but there will be plenty to grow.

You can allow your Earth Day papers to dry, and then give them as gifts to celebrate our planet!

When it’s time to plant, place the paper seed-side up in a container filled with moist potting mix. Spritz the paper with water to thoroughly moisten it.
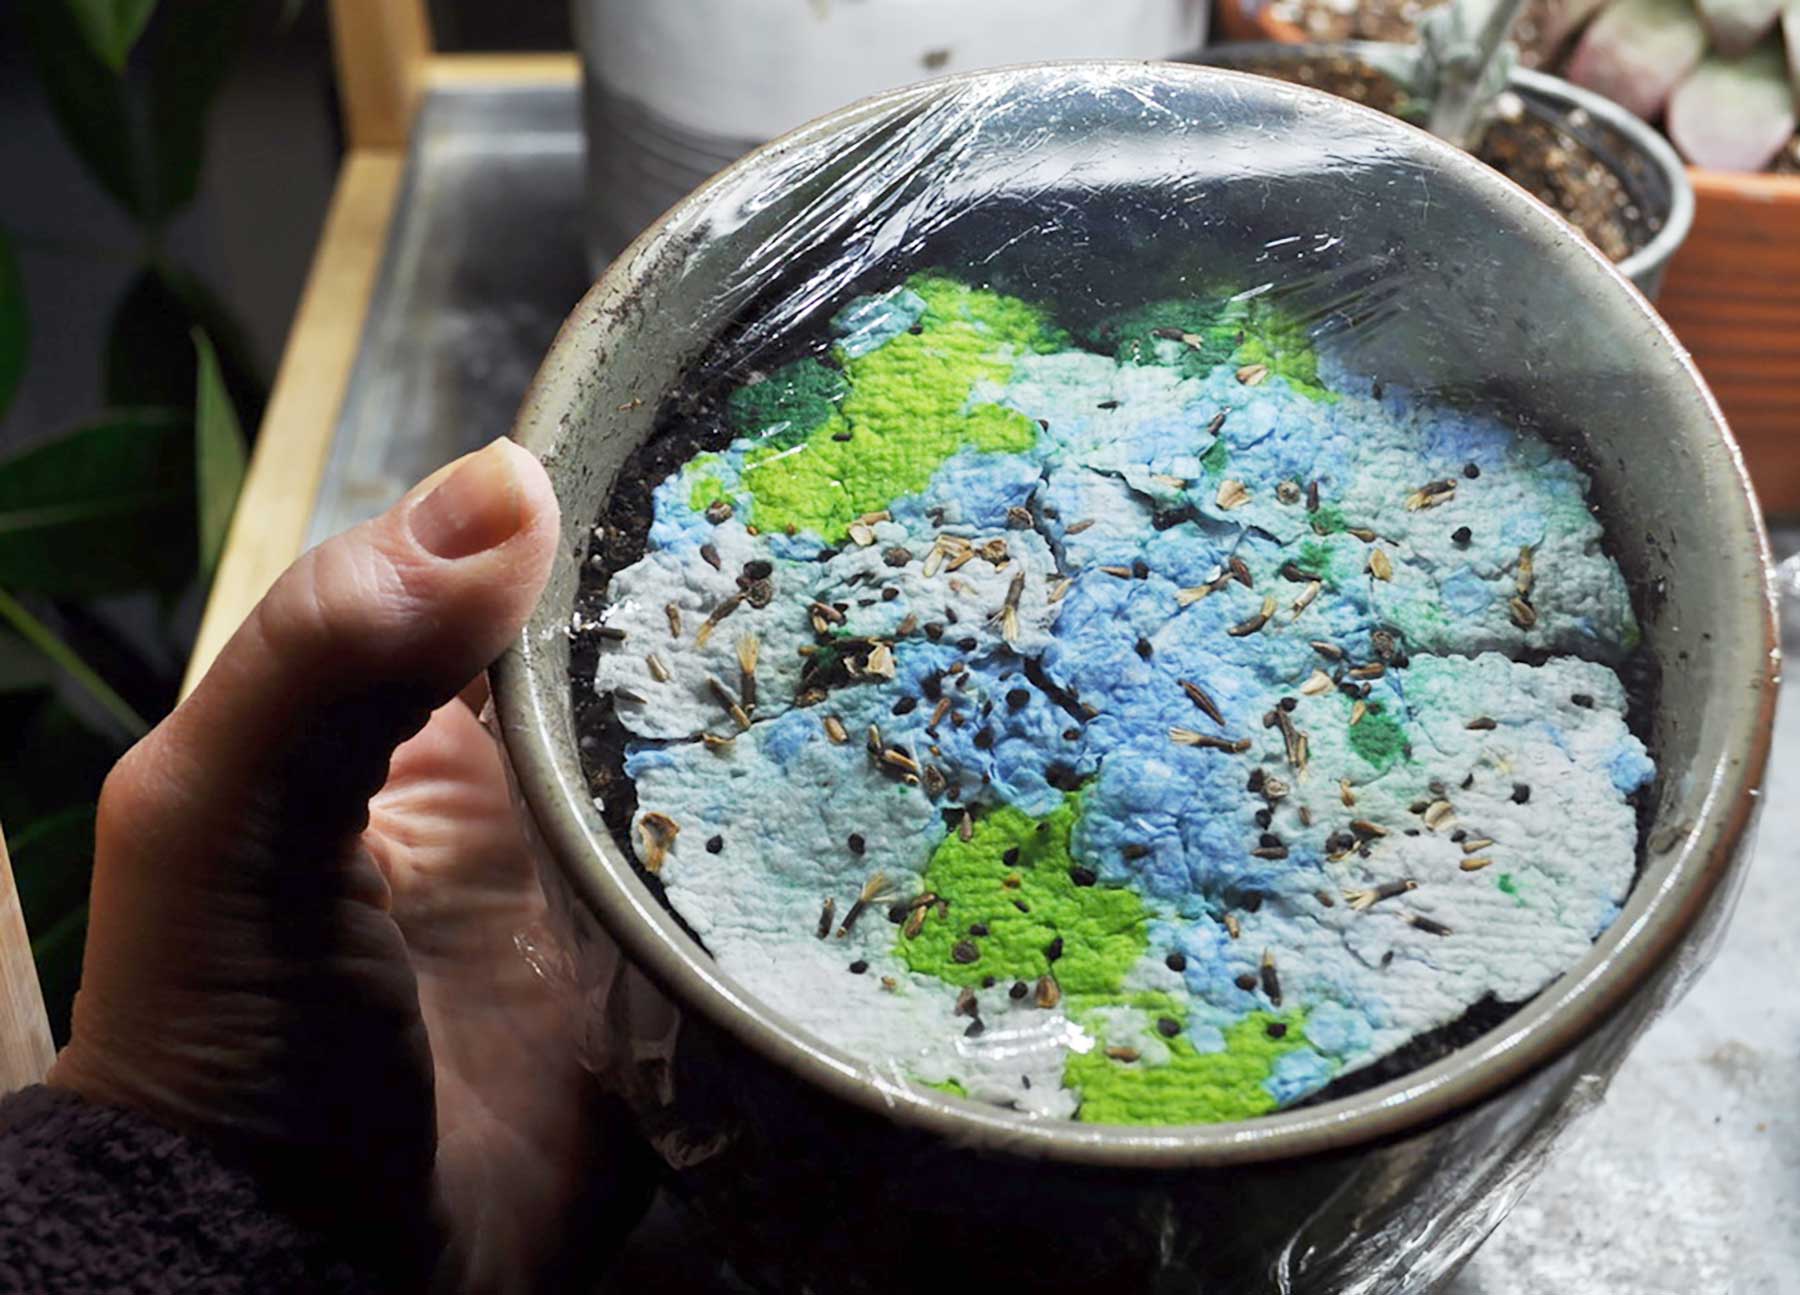
Then cover the container with plastic wrap; this will hold in the moisture and help seeds germinate.

As soon as you see the first sprouts, remove the plastic and place the pot in a bright spot or under grow lights.

Check the plants daily and keep the paper and soil consistently moist.

These wildflower seedlings are ready to be planted outdoors!
Related Resources
Subscribe
Our FREE monthly newsletters help kids play, learn, and grow through gardening. Get the best gardening ideas for kids right in your inbox!

Excited to garden with kids?
Explore more resources, discover funding opportunities, ask questions, and learn with other gardeners in the Kids Garden Community. Join FREE today to start connecting, sharing, and growing with educators and parents just like you!