

Materials
- rocks in assorted sizes
- paints and paint brushes or paint pens (nontoxic, acrylic)
- paint brushes
- sealant (optional)
- old t-shirts, smocks, or aprons
Background Information
The American Journal of Public Health published a literature review on The Connection Between Art, Healing and Public Health examining the health benefits of visual arts therapy, movement-based creative expression, and expressive writing. The Children and Nature Network’s Research Library is full of studies looking at the social and emotional benefits of spending time in nature. What if you combine the two by engaging in creative activities that encourage self-expression in a natural setting?
In an ideal youth garden setting, kids would have the opportunity to help design the garden and select the plants and special features included. However, when there are a large number of kids utilizing a garden (such as at a school or public space), this level of involvement can be challenging due to cost and available space. Educators can turn to simpler crafts using inexpensive or repurposed materials as an alternative for allowing students to help decorate the garden space and make it their own. This lesson lays out ideas for using painted rocks in your garden to allow young gardeners to express themselves, to communicate with each other, and to contribute to the garden in a personal way.
Laying the Groundwork
It will be important to lay down a foundation for the use of rocks to communicate in the garden to make sure it is a positive experience for all. Rather than presenting your students with a predetermined list of parameters, engage them in helping to create the activity’s guidelines as a group.
Beginning by sharing that you are starting a new project to decorate your garden that will also allow them to leave messages for each other and the other living things that make your garden home. Explain that they will paint rocks and leave them in the garden for all to see and enjoy.
Determine Guidelines
Before you get started, tell them that you are going to work together to create a list of guidelines for the activity to ensure that it is a positive experience for all. Then lead the group in brainstorming guidelines. You may need to share a couple of ideas to help them get started. Here are some examples to consider:
- All words and pictures placed on the rocks should be school appropriate and considerate of others.
- Remember that everyone’s rocks will be different and special to them. No one should say anything mean or hurtful about anyone else’s rocks.
- When placing your rock in the garden, make sure not to disturb other rocks or nature. (For example do not place it so that it blocks water coming from drip irrigation or on top of tender seedlings.)
- Rocks are for decorating and enjoying and must not be used for throwing or in any harmful way.
Exploration
-
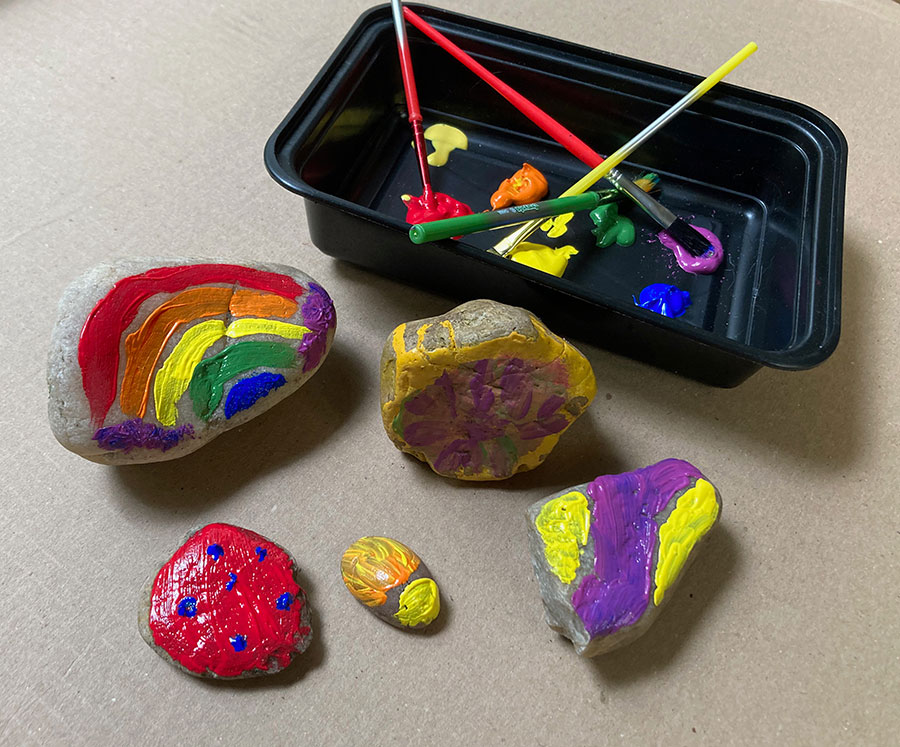
- Gather an assortment of rocks of all sizes, shapes and textures; note smoother rocks will be easier to paint. Clean off any soil or dirt and if water was used, let the rocks dry thoroughly.
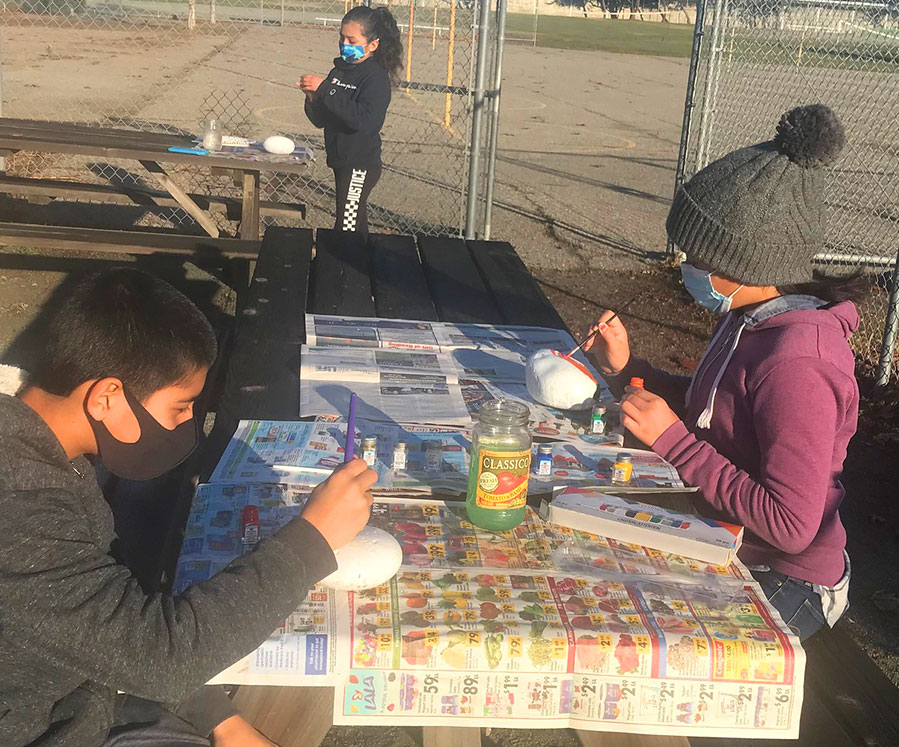
- Paint the rocks using nontoxic acrylic craft paint or paint pens. Students can use traditional brushes or you can also search out other ways to apply paint, such as sponges, crumpled paper, cotton swabs, leaves, ferns, and pine needles. Make sure students cover up their clothes using old shirts or art aprons or smocks because this type of craft paint can stain.You can leave the subjects for their paintings wide open to anything the students want to paint. They can make pictures, write encouraging sayings, or simply use colors and patterns to express their feelings. You can also direct their artwork if you would like. For example, you could ask them to paint insects to celebrate garden wildlife, paint flowers to decorate a winter garden, or even focus their efforts on writing kind words of encouragement for others.
- Allow paint to dry completely. Once dry, you can apply a layer of paint sealant for more weather resistance if desired (or you can skip this step, realizing that the paint will wear off over time, but then rocks can be re-decorated when needed).
- When the rocks are ready, visit your garden and let your students find special homes for them. You can give them full range in the garden or, alternatively, you can reserve a special location (for instance in a specific bed or along a walkway) to place the rocks.
Making rocks for your garden can be a one-time or a regular activity. You can use it as a way to introduce students to the garden and allow them to feel some ownership over the space, as a way to celebrate the end of the year and leave messages to future gardeners, or you can allow them to engage in rock decorating as often as they would like to, providing them with a way to express their feelings and emotions.
Making Connections
In addition to the student painted rocks, you can also provide a set of pre-painted garden rocks that feature words or letters and allow them to leave temporary messages to others. You will want to remind them of the guidelines they developed for their rocks to make sure it continues to be a positive and encouraging activity for all.
Branching Out
- Use KidsGardening’s Growing Poems lesson to encourage more ways of using the garden as inspiration for self-expression.
- Check out the Kindness in the Garden lesson for more ideas for incorporating kind acts in garden spaces. Additional ideas can be found through the Compassion Flower Project developed in partnership with Mrs. Meyer’s Clean Day.
- Look for life around your rocks. Your rocks may end up being a place for butterflies to bask in the sun or you may lift them up and find decomposers living in the shade they provide.
- Before painting begins, have students examine the rocks. They can trace around the rock onto a piece of paper and make note about the color(s) and textures, and then draw the various mineral veins and particles they see. If possible, have them examine the rock with a hand lens. Can they see other interesting details? Different colors? Have them wet the rock. Are the colors brighter when the surface is wet?
